You don’t have to go to a professional photography studio to get studio-quality shots. It is quite possible to do so in comfort and at minimal cost. A home photo studio will allow you not only to save money, but also not to worry about time. You can work in it when you want and how much you want, constantly honing your skills.
At first glance, creating a home photo studio may seem like a very difficult task, but you can easily manage it, using the most basic tools. We will tell you how to do it in this article.
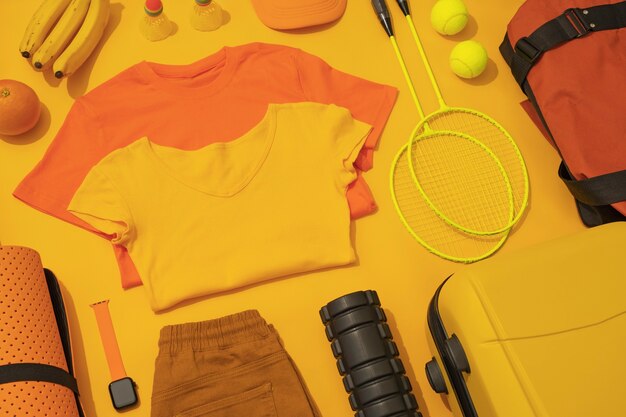
Once you have chosen the most optimal place for your future studio, you can start creating it. Since we are talking about a workspace, it is important that nothing disturbs you. So, get rid of all objects and objects that could get into your frame, impede your movement or take up invaluable space for your photography equipment. Leave only what will actually be useful to you directly while taking pictures. This could be a table, chair or sofa, as well as other objects that fit the theme of the session.
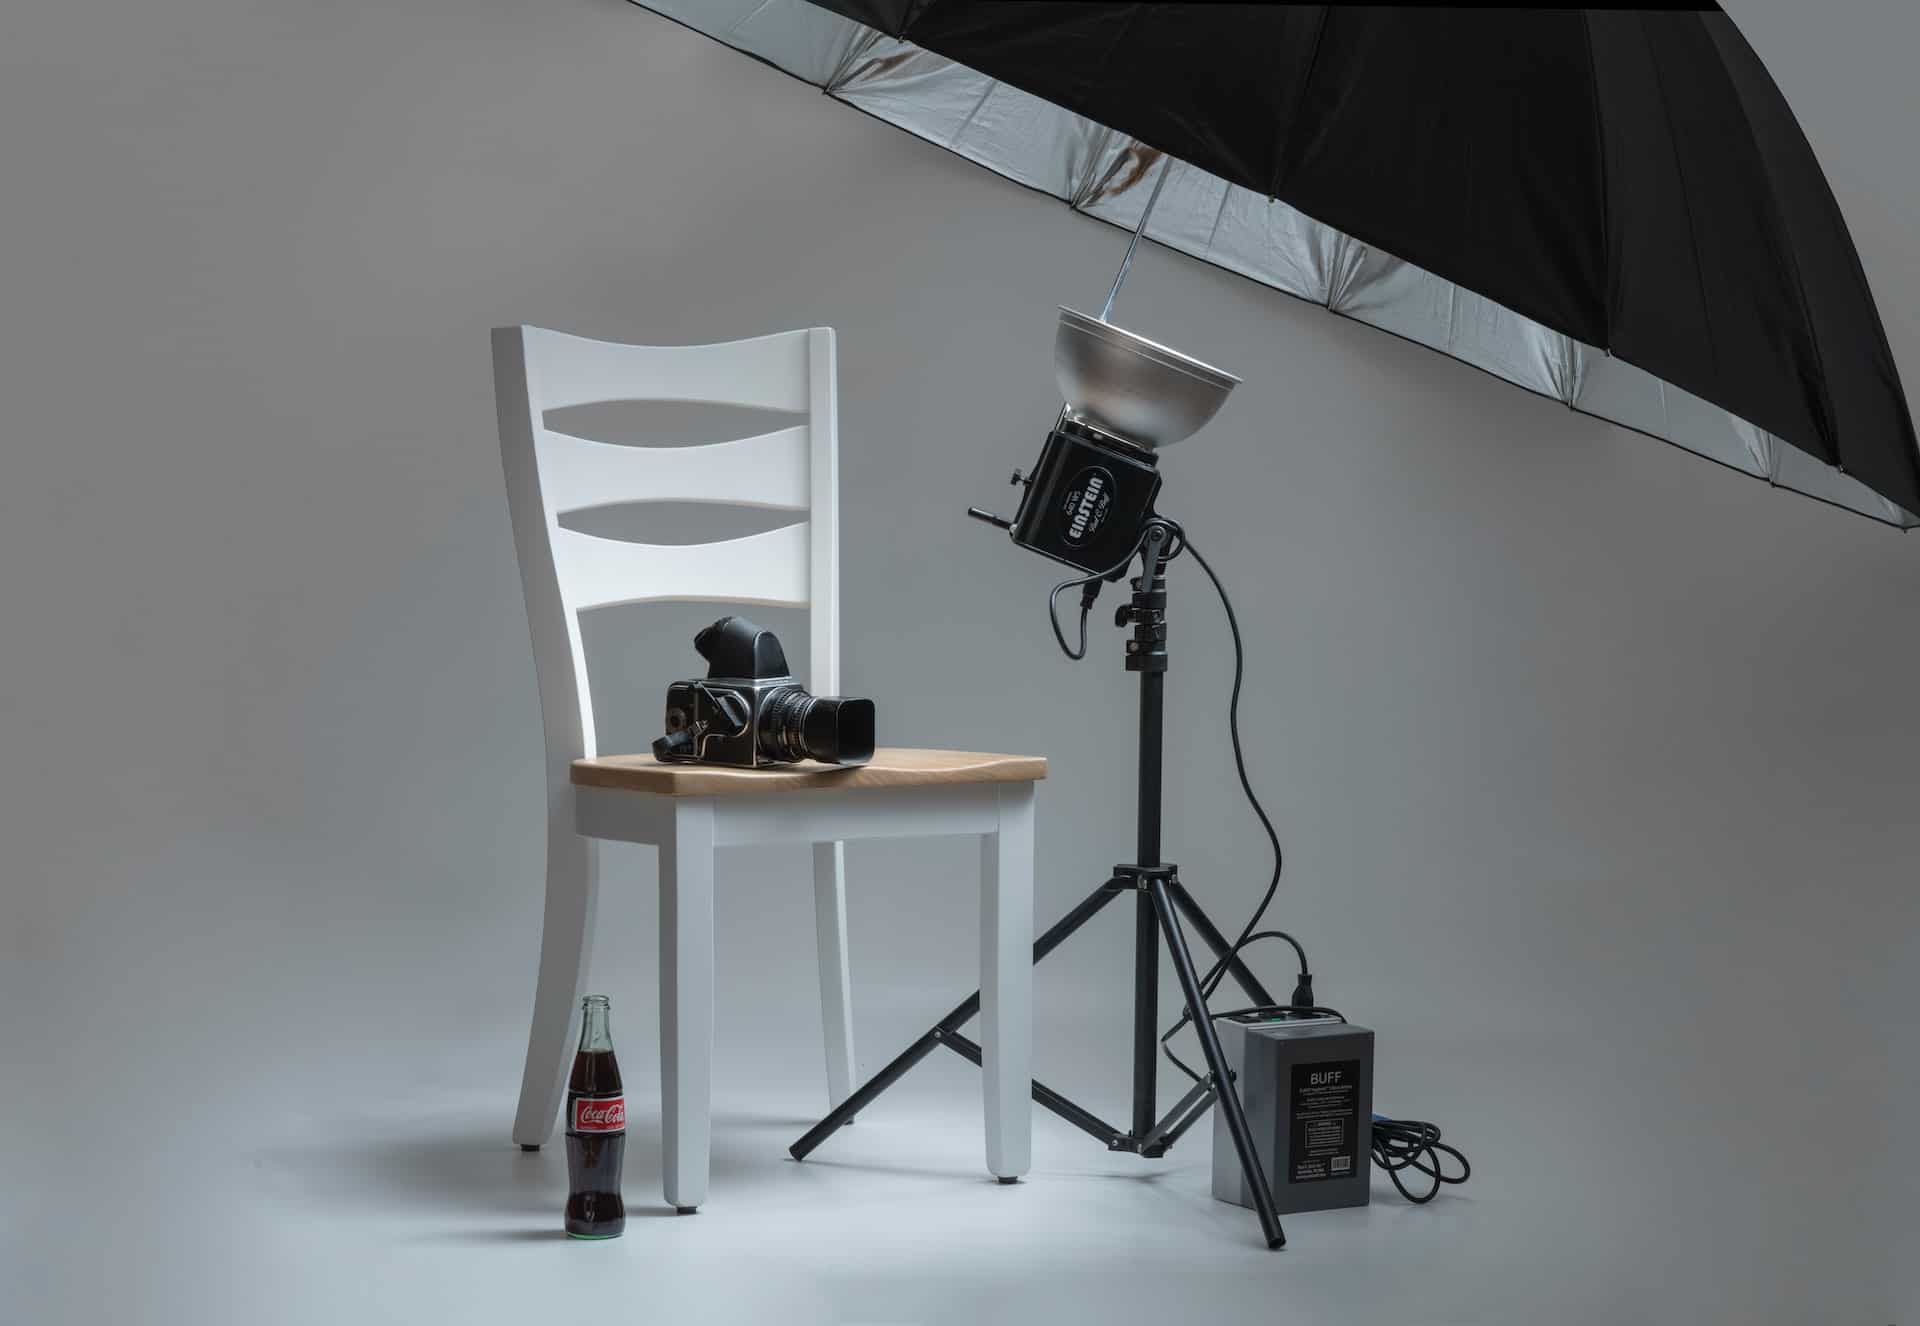
To prepare a photo studio at home, first of all you need equipment that will create the right conditions and lighting.
To make the flashes respond simultaneously with the camera, you need triggers to trigger them remotely. There are several types of these devices, but currently the best models are infrared and radio.
There are many gadgets with which you can control the intensity and quality of lighting: softboxes, umbrellas, streamers, honeycombs, etc. Most beginner kits include a softbox and umbrella, which are great for creating diffuse and soft lighting. In contrast, streamers and honeycombs are used to create a directed stream of light.
It’s also a good idea to have a few portable blends that are easy to transport, but large enough to create the right studio effect. It is best to choose sets of blends in all available colors – gold, silver, white, translucent, silver stripes, gold stripes, blue and green.
The second thing you need to stock up on is a variety of photo backgrounds. You can start with a few of the most versatile ones, and expand your collection over time. When choosing backgrounds, keep in mind that colors that are too bright can distract from the subject being photographed, and those that are too neutral can create the effect of a passport photo. In addition, under each skin tone, hair color, clothing and style you should individually adjust the color scheme.
It is also worth knowing that backgrounds have several types:
You also need a special stand that allows you to quickly and conveniently mount the background of your choice.
And the most important thing at the end: in the studio you will definitely need a tripod, especially if you want to experiment with shutter speeds and different shooting techniques. Choose ones that are durable and suitable for both studio and outdoor photography.
main photo: unsplash.com/Randy Fath